School of Motion is reimagining art school with world-class training that is available on your schedule from anywhere on Earth. They offer a wide variety of courses that can take your creative goals to the next level. Check out their website to see all of their offerings.
The below video originally appeared on School of Motion’s YouTube Channel, and this explanatory article originally appeared on their website.
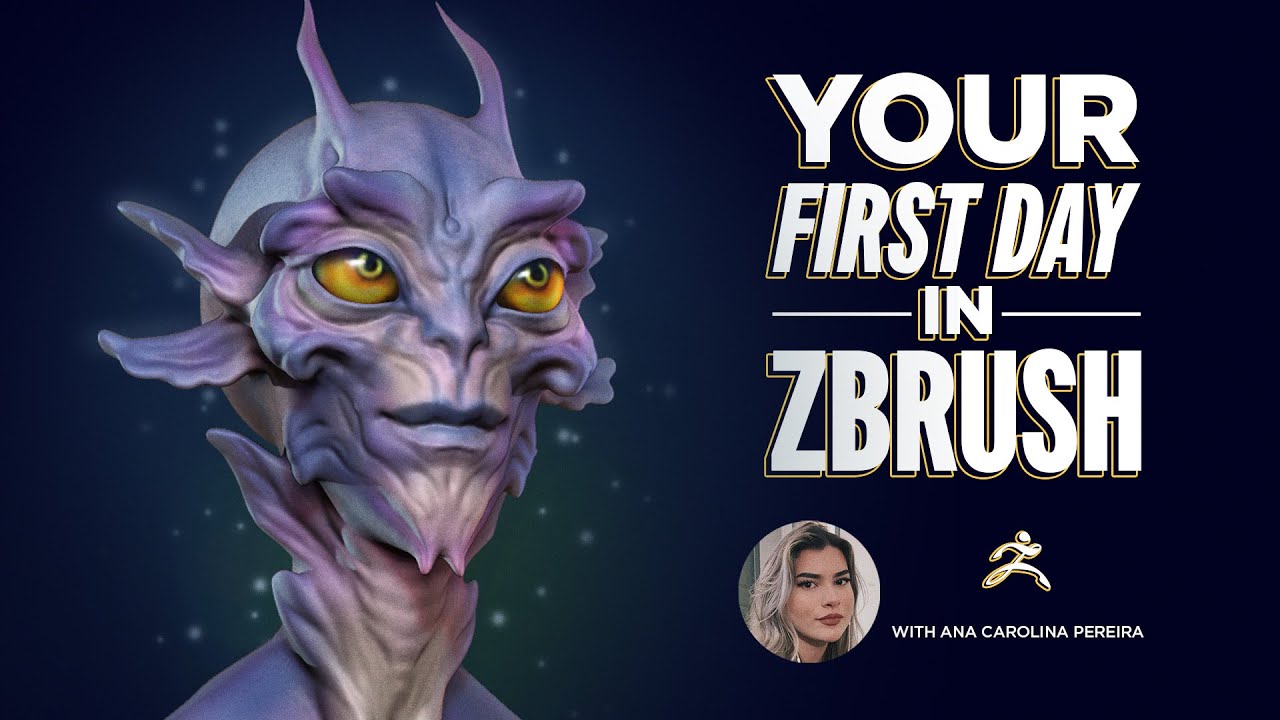
ZBrush is the most powerful digital sculpting software out there, used in industries such as Films, Animation, Games, Collectibles, toys, and more! With it now included in Maxon One, there’s never been a better time for 3D artists to learn ZBrush! However, getting started in this software can be a little daunting, so let’s explore your first day with ZBrush.
Generating your own 3D assets allows you to fully control the characters, objects, and environments you bring into your animation projects. While some familiarization with ZBrush is great, we’re going to treat this tutorial as an opening for true beginners. If you’ve ever played with Play-Doh, you’ll be ready to go.
In this tutorial, we’ll learn:
- How to under the User Interface in ZBrush
- Setting up your first project in ZBrush
- Navigating in ZBrush
- 4 Basic Brushes in ZBrush
- Key Tools to Use in ZBrush
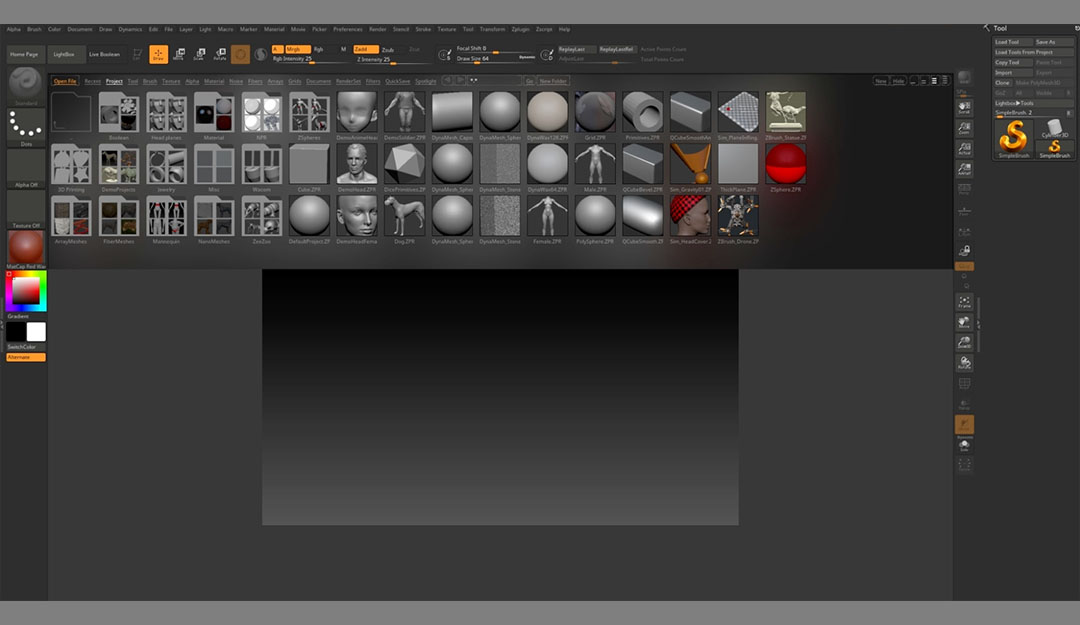
When you first open ZBrush, your window might look like this. That many icons can be overwhelming, so we’re going to keep it simple and learn what we need and what we don’t. This big box of icons is called the LightBox, and it has multiple tabs filled with additional tools curated by ZBrush.
Using either the hotkey Comma (,) or by clicking the LightBox button in the top left, you can close this window so you can view your workspace more clearly.
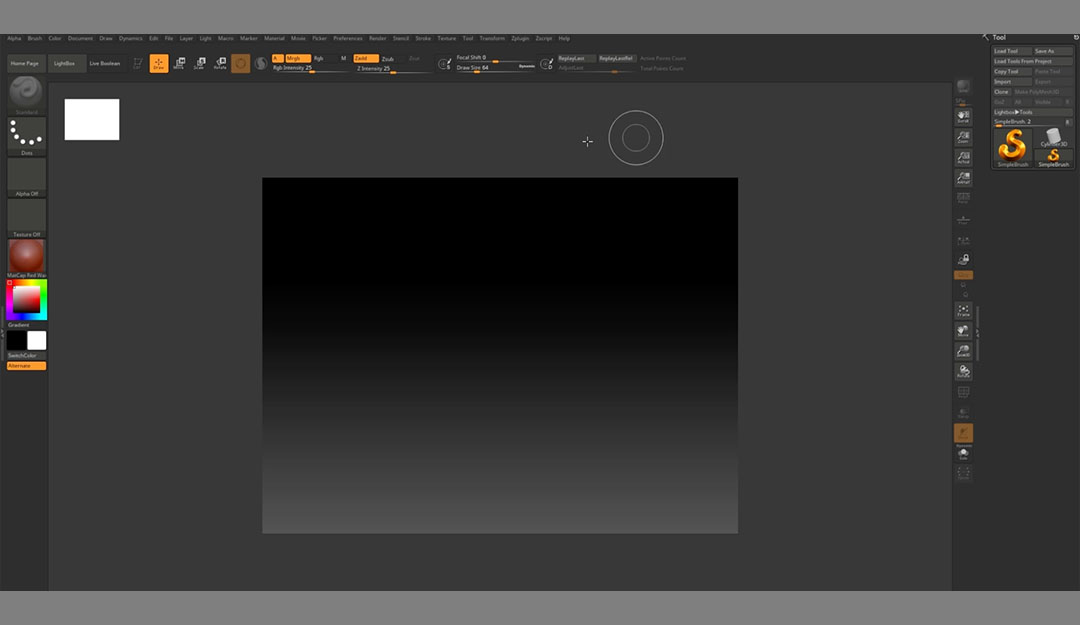
Now you’re looking at your Canvas — or Documents. This is where we will be sculpting.
At the top of your screen, you might find yourself scrambling for the familiar tab File. ZBrush has all of the normal folders, but they are listed alphabetically. Take some time to explore the options in these top tabs (maybe we’ll even do a deep-dive series if there’s enough interest/someone drops a crisp $20 in the suggestion box).
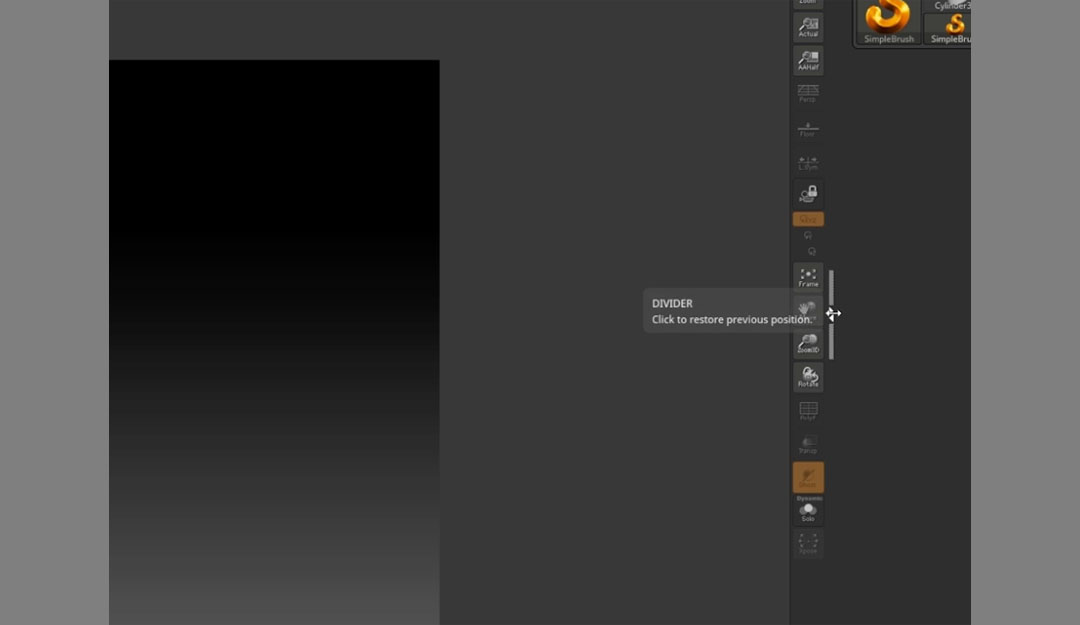
You can use the double arrows on the right side of your Canvas to adjust and add tools. You’ll also see that many of the top tabs correlate to windows on the Canvas, such as the Tools window. When you select the top tab, the tools bin disappears.

At the top of your Canvas, you’ll see controls for your brushes. Here you can adjust the Intensity, set the mode, and so on.

On the left side, you’ll see colors, materials, and other options for your brushes.
QUICK TIP
If you start in Draw Mode and add too many objects or just make so much of a mess that you can’t figure out how to restart, click CTRL/CMD+N to open a new canvas and start over.
Now that you have a better grasp on the basic layout, let’s learn how to navigate around your canvas.

By default, your Tool Bin is docked to the right side of your canvas. It’s always a good place to start when you’re staring at a fresh Document.
In your Tool Bin you’ll see, at the bottom, a button marked Tool (on my screen, it shows as Simple Brush, but you can hover over the icon to see its actual name).
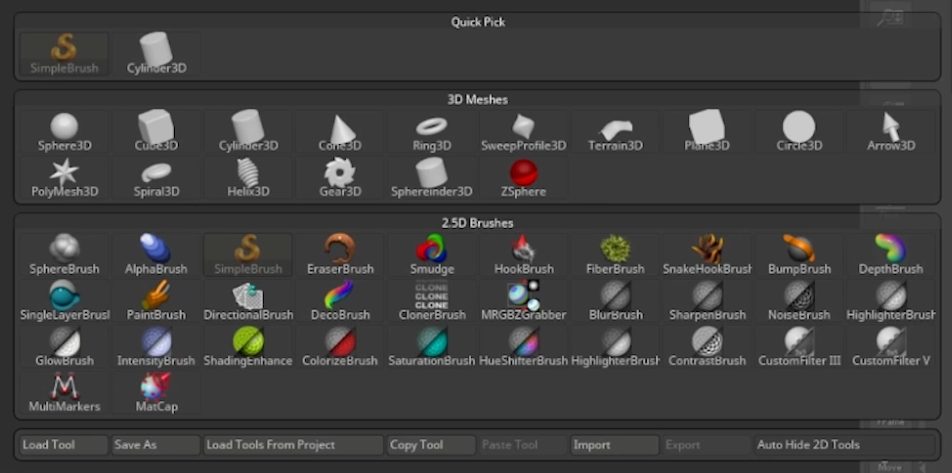
In ZBrush, Tool is just another name for Objects. The standard set of Primitives that comes with ZBrush is all you’ll need, but you can find custom sets as well. Let’s get started with a Sphere.
Adding an Object
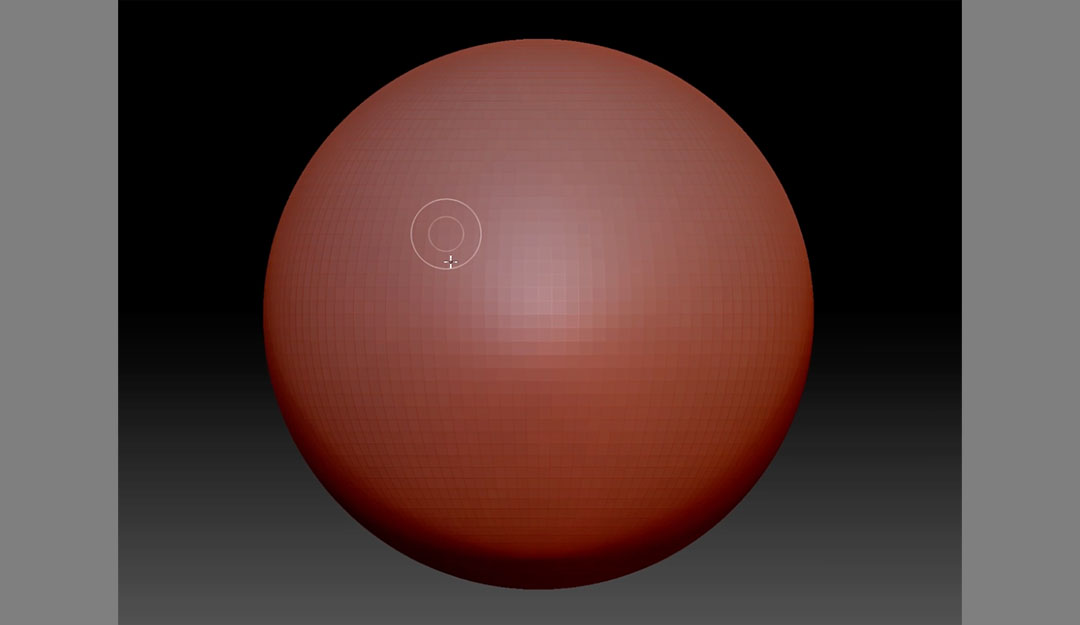
With Sphere selected, click and drag to create your object. You can keep adding objects until you have the desired canvas to begin, but we’d recommend starting with just a single sphere (don’t try to run until you’ve learned to crawl).
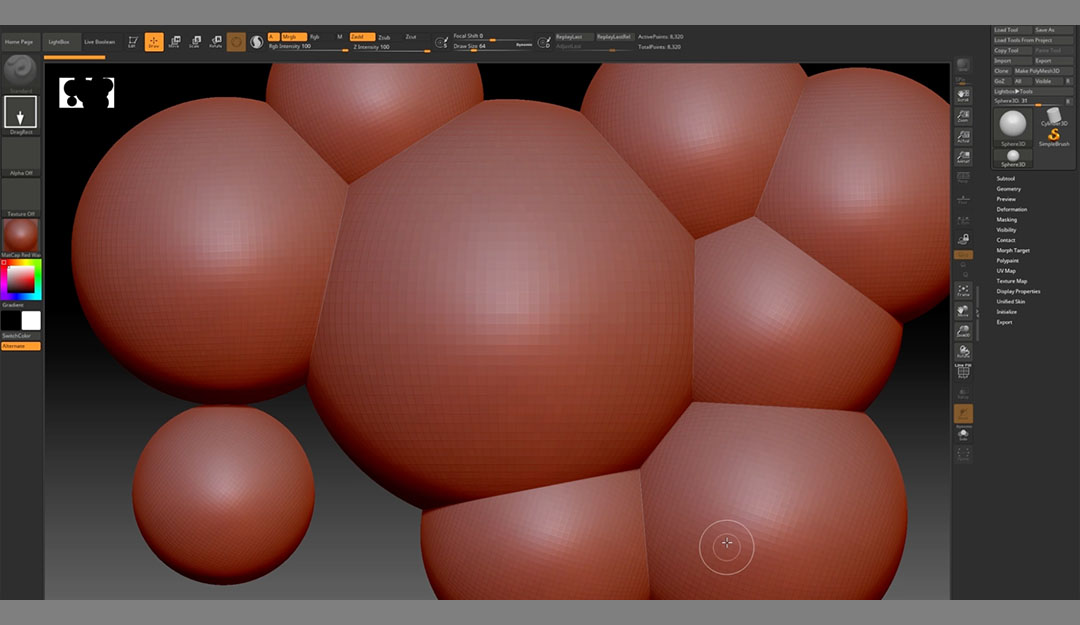
Once you’re happy with the size, it’s time to start sculpting, right? Wait, what’s this?
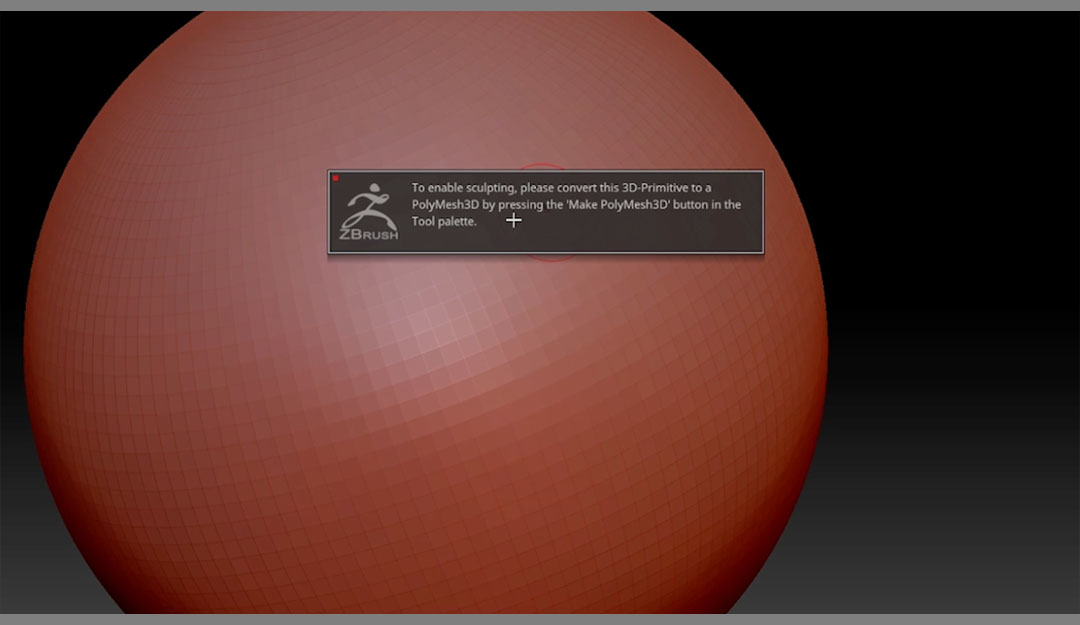
A good rule to follow, no matter the software, is to read through any popups or warnings when you’re first starting out. The developers usually put these in to help out newcomers, and there’s no prize for being the cool artist that doesn’t read instructions.
Let’s go find the button in the Tool Bin.
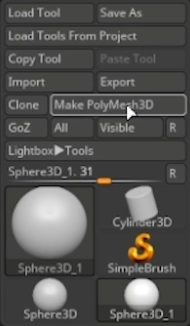
Now we can go to our object and start messing around. The ability to alter the Primitive is great, but we’re going to need to learn more about our tools to actually turn a sphere into…well anything.
Rotating the Canvas
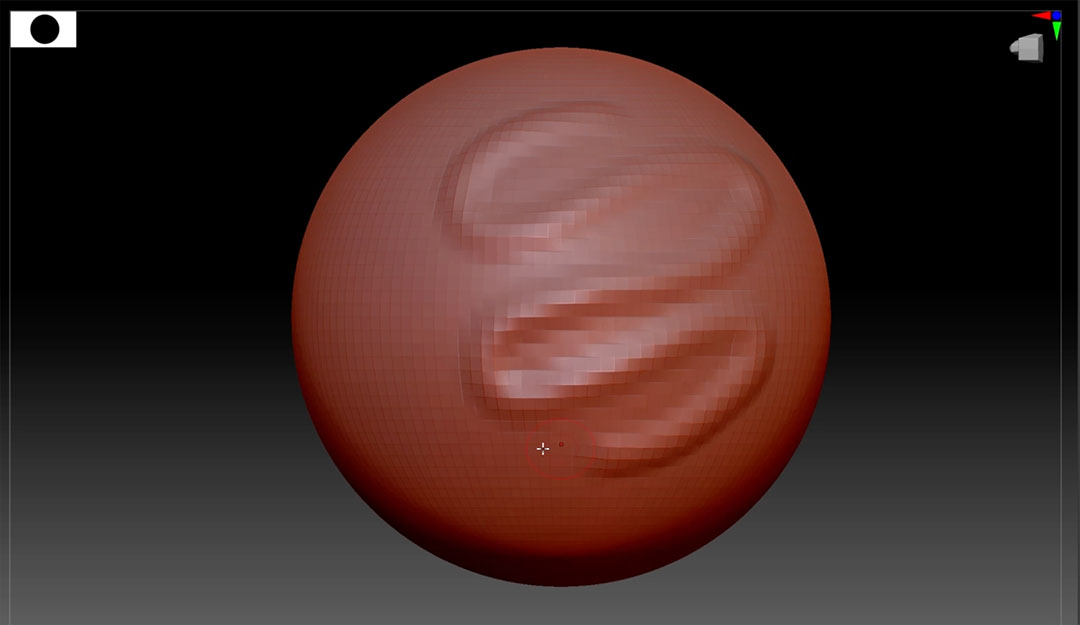
Remember that you’re working in 3D space in ZBrush. If you’re not moving around your canvas, it’s like only painting one side of your house. The project isn’t complete. Rotate your object by clicking and holding in the canvas (off the object) and dragging your cursor. The direction in which you drag affects the angle of rotation.
It takes some practice, so don’t worry if you’re overcorrecting when you start out. You can also snap to a position by holding Shift while you rotate.
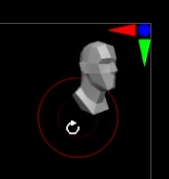
You’ll notice the little head in the top right of your canvas. This shows you the orientation based on when you first opened the canvas. You can click and rotate the tiny head to control your Document as well.
Moving around the Canvas
To move or translate around the canvas, hold ALT while you click and drag.
Zooming in and out of the Canvas
This one is a little tricky. Hold ALT, click and hold on the canvas, then immediately release ALT. Now move the cursor up and down.
If you ever zoom in so much that you can’t see the canvas, don’t worry. Look for the white border at the edge of your document. Any pixels outside of the white border can be used for navigation.
You can also press F to frame the mesh.
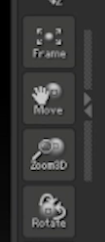
Of course, you can simply go to the buttons on the right side of the Canvas and drag those to get the same effect.
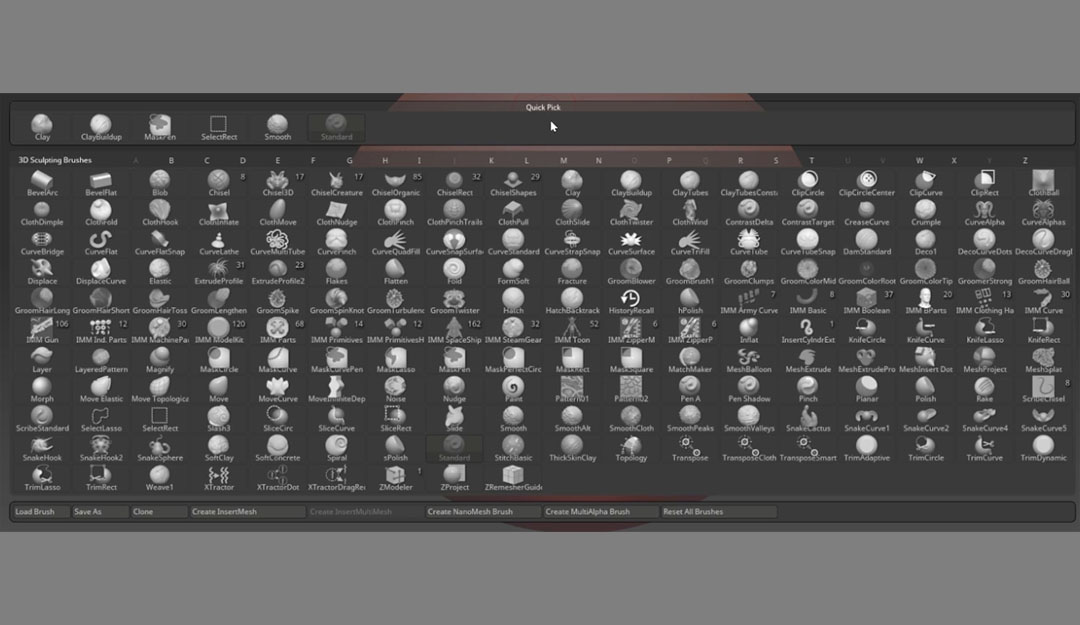
Now there are a ton of amazing brushes in ZBrush (heck, it’d be weird if a program with “brush” in the name didn’t have a decent set), but we think you can really craft some amazing work using just 4.
First you need to find these brushes, so open the Brush palette by clicking the Brush button on the left side of the screen. Brushes are sorted alphabetically, so you can type the first letter of the brush to find it quickly. As you work in ZBrush, you’ll learn the names of your favorites.
You can also open the palette by clicking B, then typing your brush hotkeys.
The Move Brush (Shortcut B >M > V)
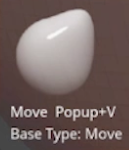
The Move Brush allows you to grab pixels on your objects and…well, move them.
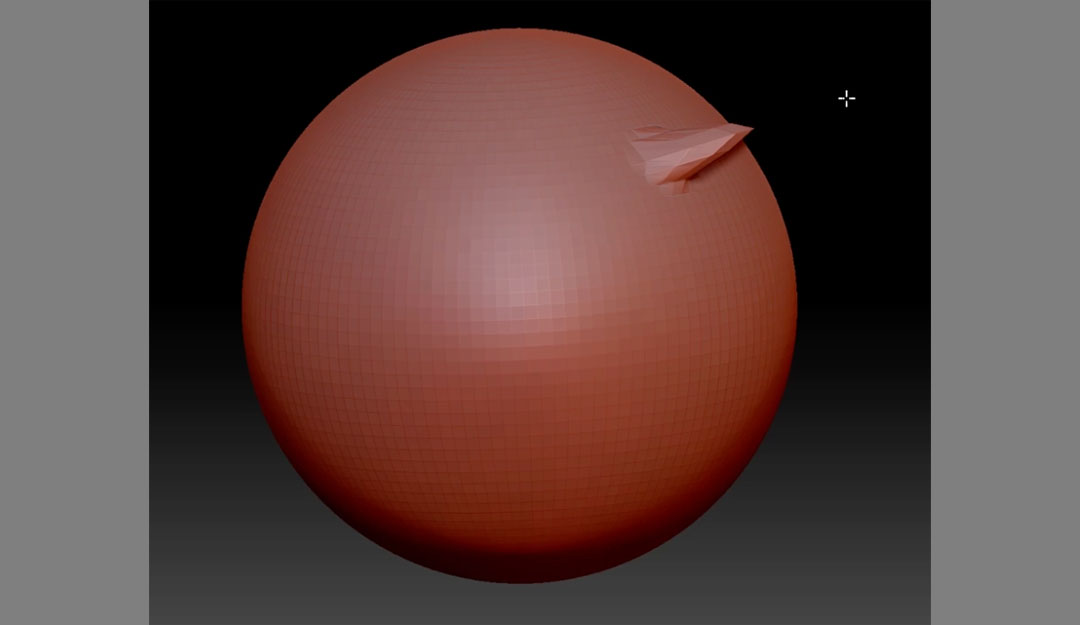
This brush grabs the vertices and either pushes or pulls depending on your mouse movement. Of course, we can change the effect of the brush by altering the Brush Settings above our canvas. Draw Size, Intensity, and Focal Shift alter the final product.
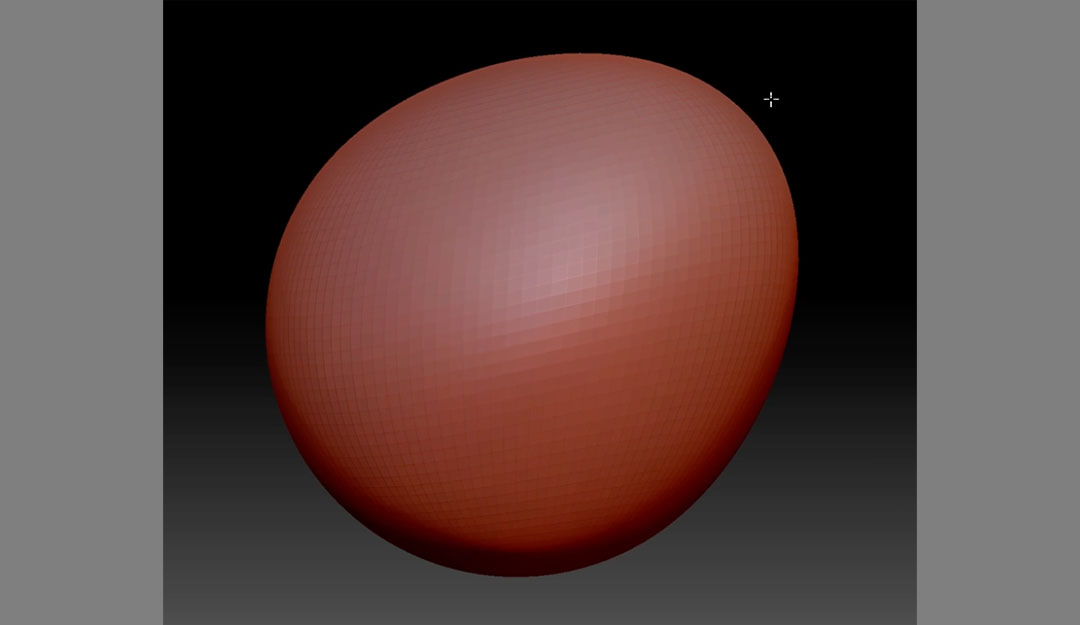
The Clay Brush (Shortcut B > C > L)
This is the classic brush of the software. With Clay, you can add volume to your object, just as if you were working with…clay.
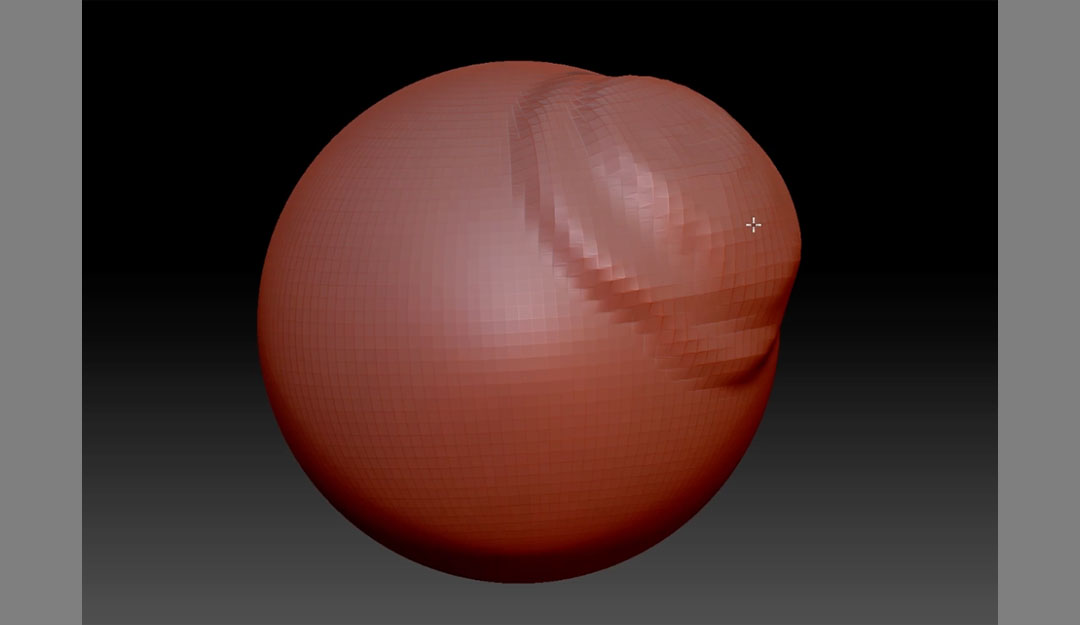
You can also hold down ALT while you brush to invert the brushes mode.
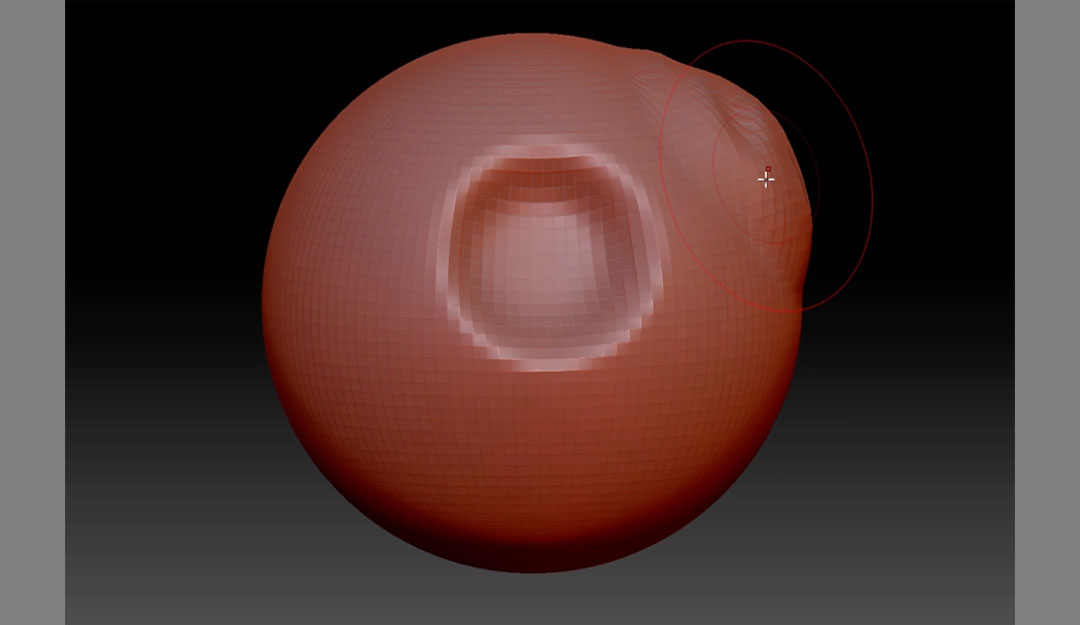
The Damien Standard (Shortcut B > D > M)
The Damien Standard acts like a knife, cutting and shaping your mesh. If you’ve ever messed around with clay in real life, this brush will seem very intuitive.
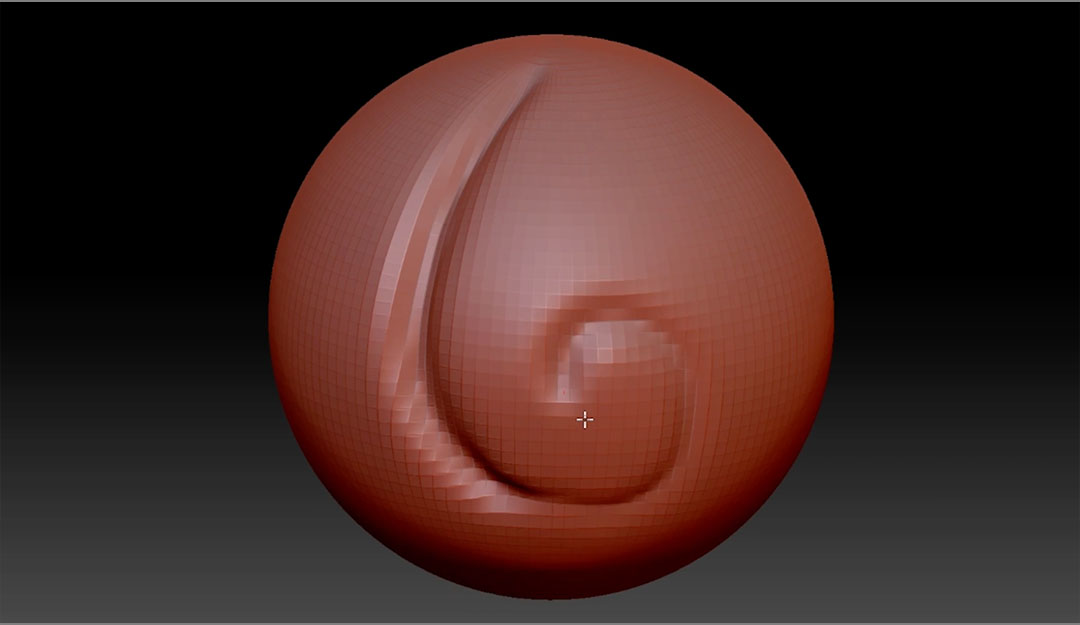
This tool is great for creating cuts and wrinkles.
The Paint Brush (Shortcut B > P > A)
The Paint Brush, as you can probably guess, allows you to paint the vertices and change up your object. We’re going to take a quick sidebar before we do any painting to talk about Materials.
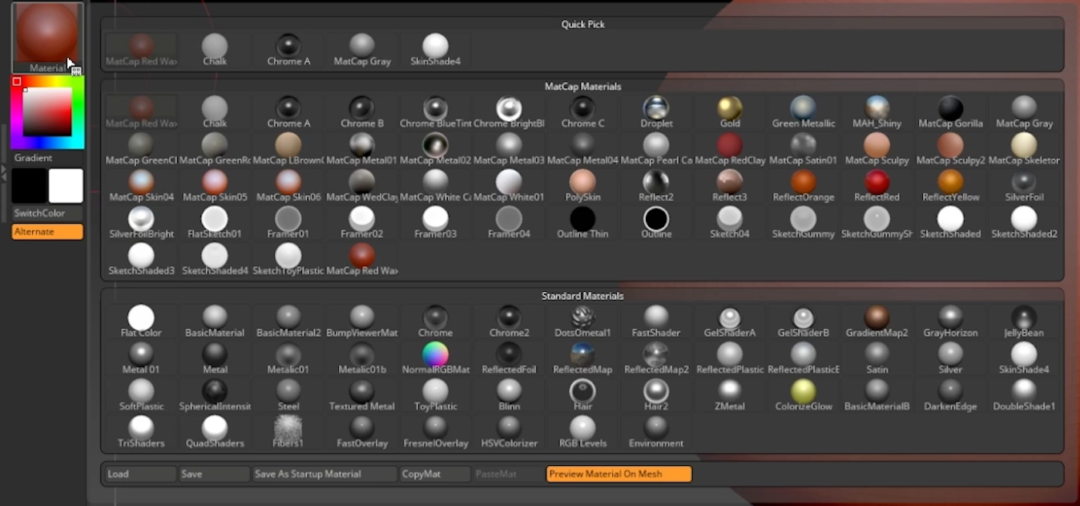
If you go to the right side of your Document, you’ll see the Material button. This opens your palette, with dozens of different materials to apply. When you are first starting your sculpt, we recommend going to Basic Material. It’s a good blank canvas on which you can create.
Below Material is the Color palette…but watch what happens when you try to change the color.
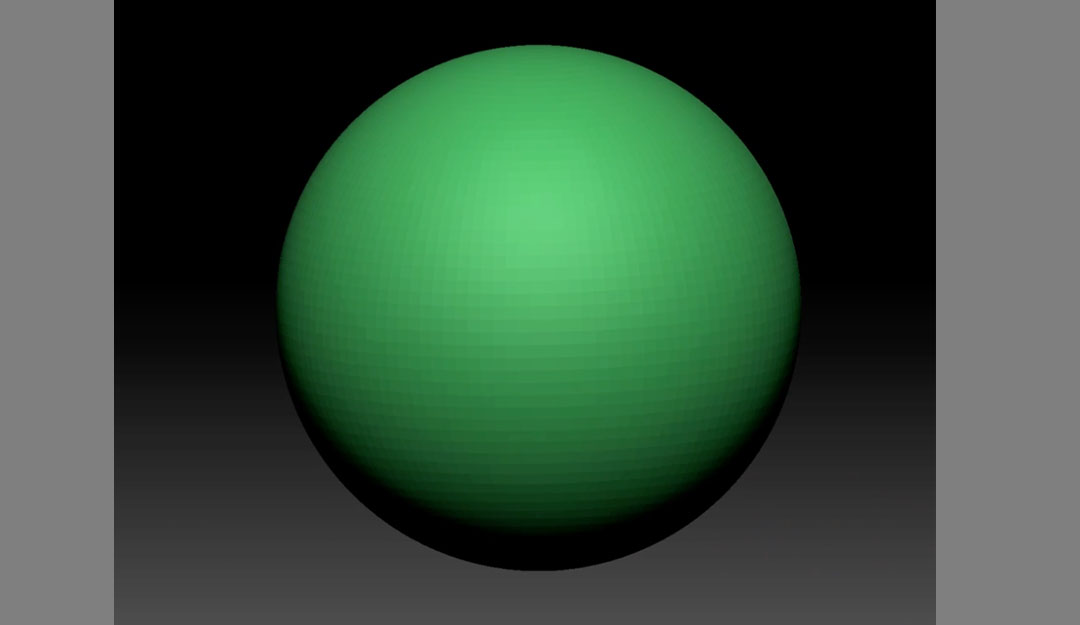
Currently, the palette is showing you an example of what will happen to your object. Since that’s not really what we want to do, go up to the Color Tab at the top of the screen. Make sure White is selected (not critical, but it makes it easier to see your work).
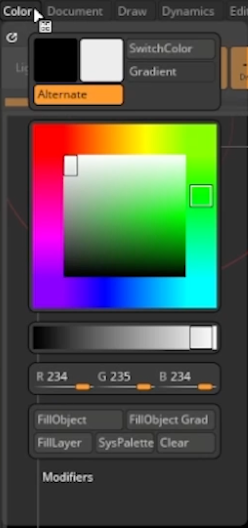
Select FillObject.
Now when we start to paint using the Paint Brush, we’ll actually draw on the object.

For these tools, we’re going to switch back to our Daman Standard brush.
Masking (CTRL/CMD)
Masks in ZBrush work in much the same way as any other graphic software. To apply, hold CTRL/CMD while painting on your object. You’ll notice a dark area appear, but it’s not paint.
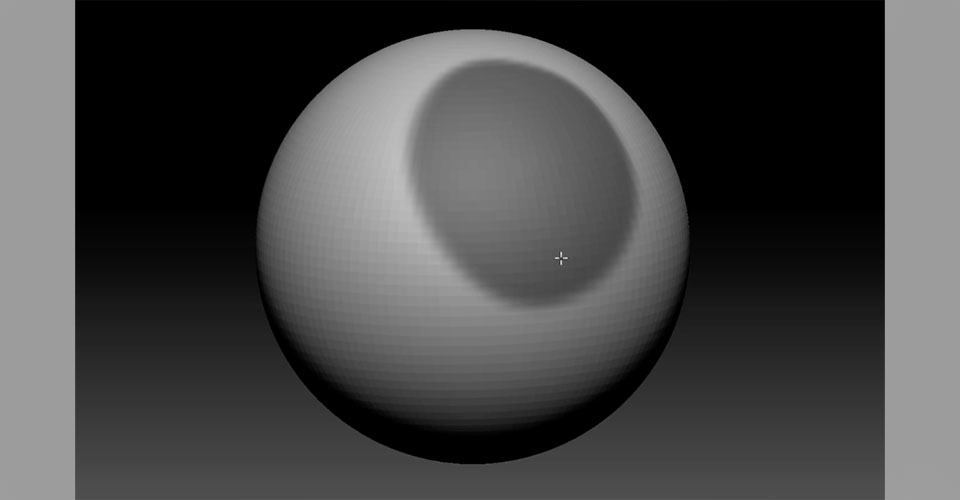
You’ll also see that your brush icon has changed to MaskPen. Release control and try to draw on that area. You can’t. Now you can add larger features and make sweeping changes without affecting specific areas.
To invert the mask once it has been applied, CTRL/CMD + Click outside of the object.
To clear a mask, CTRL/CMD + Drag outside the object.
Selection (CTRL/CMD + Shift)
Selection allows you to focus on specific areas of your Canvas. Simply CTRL/CMD + Shift + Drag over your object to select the desired area.
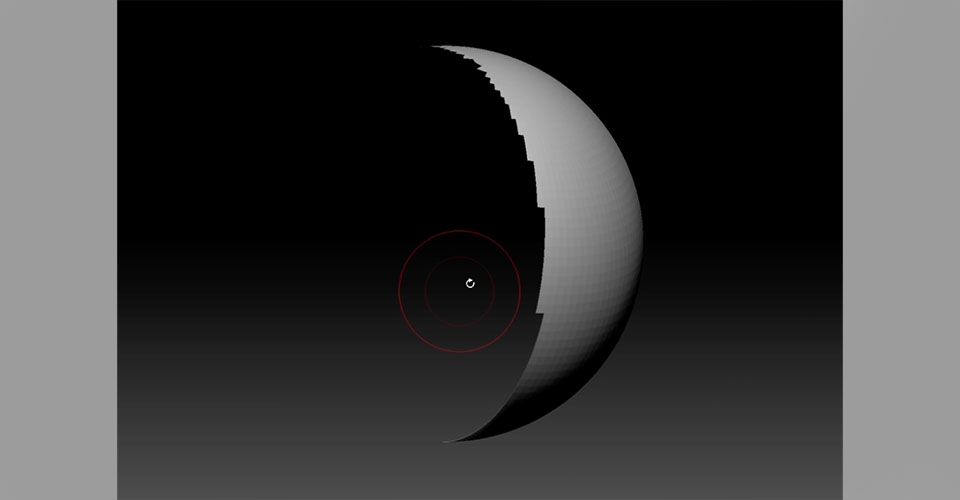
This will hide any area that is no longer editable, allowing you to focus on one particular issue without getting distracted. This is also useful if you poly count is high and your computer is running too slow.
To invert your selection, CTRL/CMD + Shift + Click on the model.
To clear your selection, CTRL/CMD + Shift + Click outside the canvas.
Smoothing (Shift)
To smooth marks on your model, hold Shift and drag over any areas.
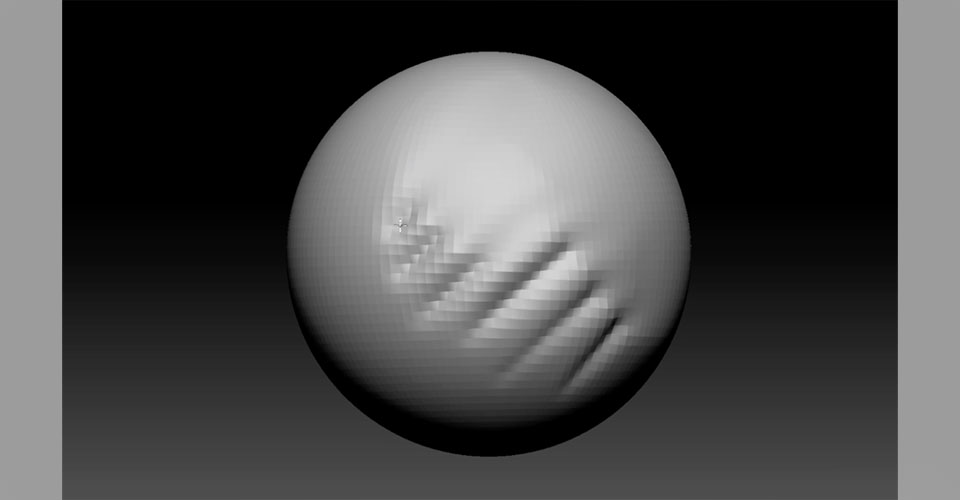
Smooth is affected by the sensitivity of your drawing device, so a tablet is a fantastic tool.
Exporting from ZBrush to Cinema 4D
Taking your models from ZBrush to C4D is pretty simple. First, go to your Tool Bin and click on the GoZ button. Then hit the ALL button just to the right.
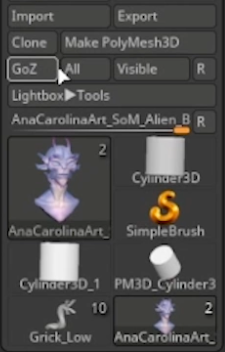
Open Cinema 4D, then go to Extensions > GoZ Brush > GoZ Importer.
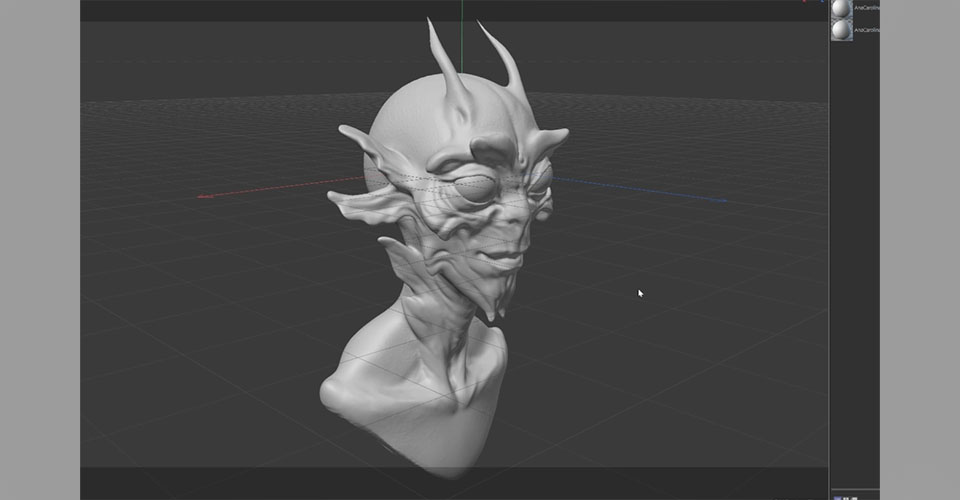
And voilà!
How to Sculpt an Alien in ZBrush
Oh, you want to learn how to make an amazing alien using only the tools we’ve discussed?
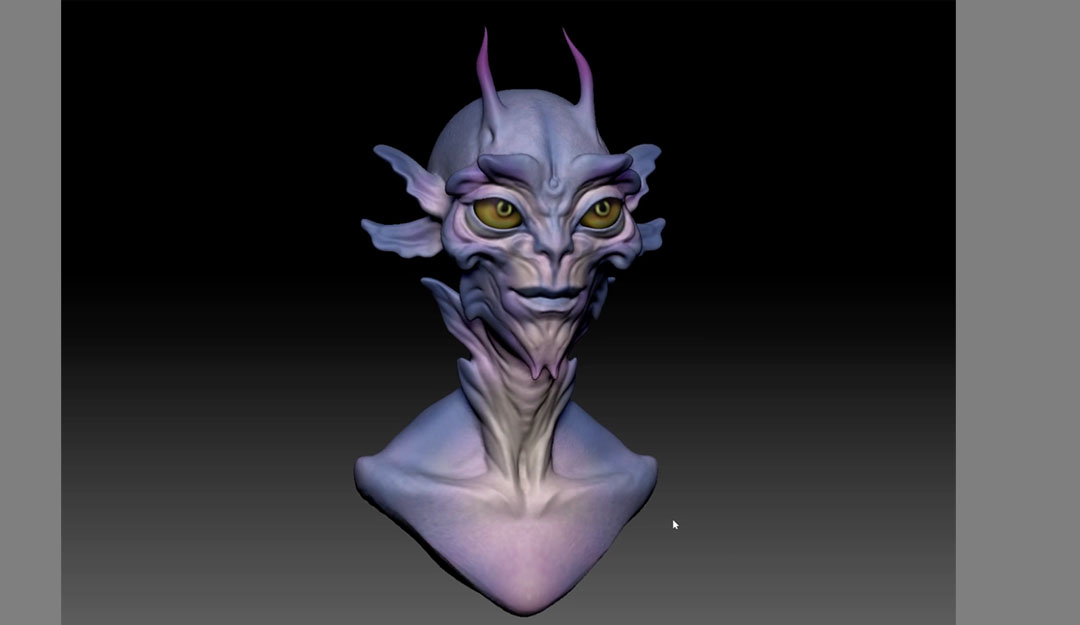
Well that’s going to be too in-depth of a conversation for here. Head back up to the video to watch Ana crush this!
Learn How to Model and Animate in 3D
We hope you’ve learned a lot today and gained some insight into 3D sculpting! If you want to learn even more about modeling, rigging, and animating in 3D, check out Cinema 4D Basecamp!
Learn Cinema 4D, from the ground up, in this intro to Cinema 4D course from Maxon Certified Trainer, EJ Hassenfratz. This course will get you comfortable with the basics of modeling, lighting, animation, and many other important topics for 3D Motion Design. Master basic 3D principles and lay the foundation for more advanced subjects in the future.

Want to learn more?
While this was not a complete guide to cutting out images in Photoshop, it will certainly get you started. Interested in learning more about image editing as well as animation? For more tips, head to School of Motion’s Youtube Channel, or find complete courses on their website.
