As your resource for creative education, the Wacom team is excited to share an introductory mini unit on exploring light, shadows, and highlights. This blog post is Part Three of a series. For Part One, click here and for Part Two, click here.
Mastering light and shadow is key to helping students create depth and realism in their digital art. In this lesson, students will refine their understanding of how light sources affect a composition by applying shadows and highlights to their artwork. Through hands-on practice, they will develop the skills necessary to enhance the quality of their digital paintings.
The objective of this lesson is to guide students as they improve their digital painting skills, specifically focusing on how to effectively apply shadows and highlights. Students will analyze the role of light sources in their compositions and use this knowledge to bring depth and realism to their work.
This lesson builds upon the first two lessons in the series. In the previous lessons, students interacted with lights and shadows through taking photos of objects. Then they looked at how color gradients play a part in developing light and shadow in a piece of artwork. Now, students will focus on applying shadows and highlights, helping them move from basic color transitions to more advanced techniques that create realistic lighting in their artwork. Understanding how light interacts with objects will add new layers of depth to their work.
Begin by briefly reviewing how color gradients work to add depth in digital art. Gradients allow for smooth transitions between colors, helping create a sense of form. From there, shift the focus to shadows and highlights, which are essential for making digital art feel three-dimensional. Explain how shadows and highlights define how light interacts with the forms within the composition, adding a sense of realism.

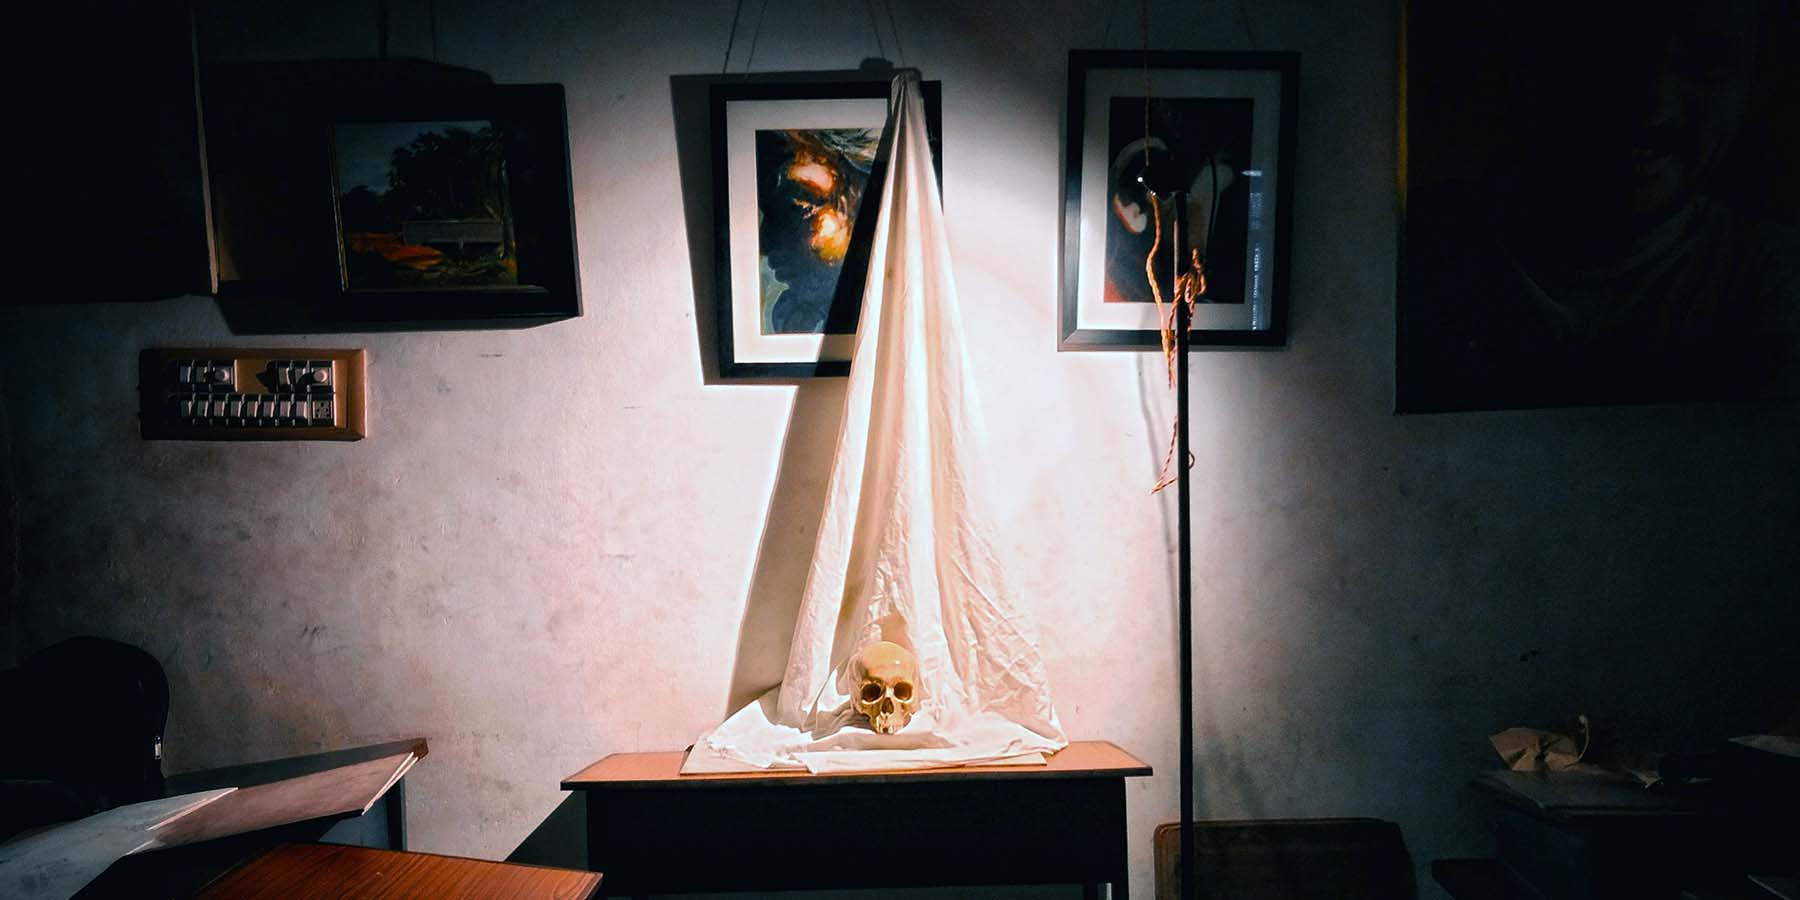
Show examples of digital paintings that use shadows and highlights effectively. As students study these works, they’ll observe how the direction and intensity of the light source determine where shadows and highlights fall. This visual exploration will provide them with the knowledge they need to enhance their own digital paintings.
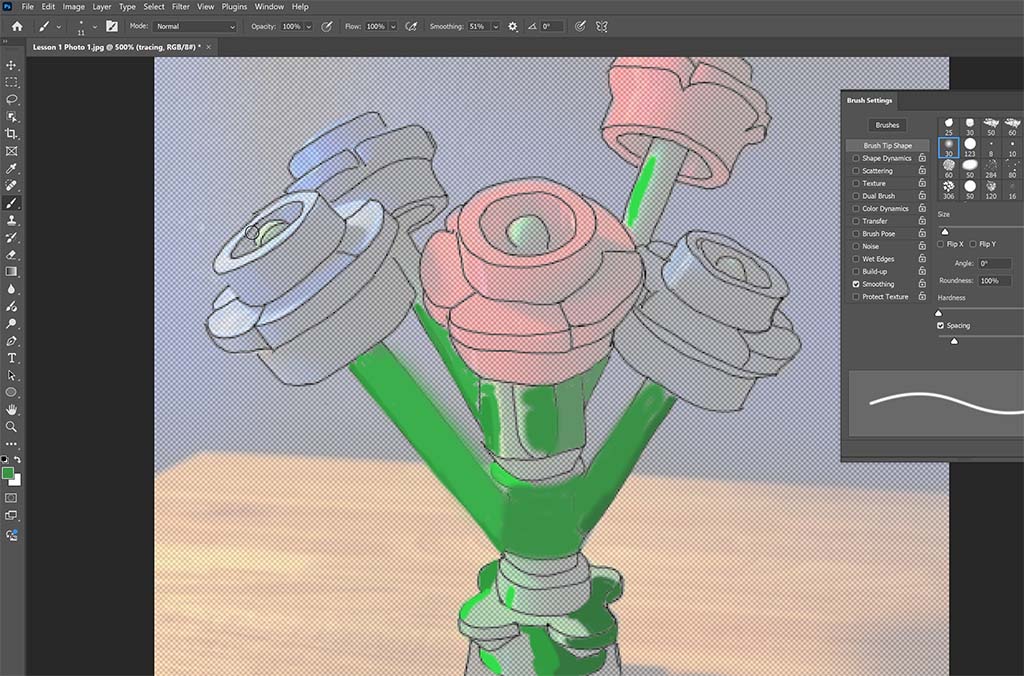
Next, demonstrate how to identify the light source in a reference photo and analyze its impact on the placement of shadows and highlights. Using Adobe Photoshop, model the process of adding shadows and highlights, focusing on how brush size, opacity, and blending modes can be adjusted to achieve realistic effects.
Once you’ve provided the demonstration, allow students to practice on their own digital paintings using reference photos from previous lessons. Encourage them to experiment with different techniques and settings to see how varying effects can change the depth and feel of their artwork.

After students have had time to work on their pieces, review the concept of light sources and how they influence the placement of shadows and highlights. Have students compare their digital paintings to their reference photos, identifying areas where adjustments may be needed to better align with the light source.
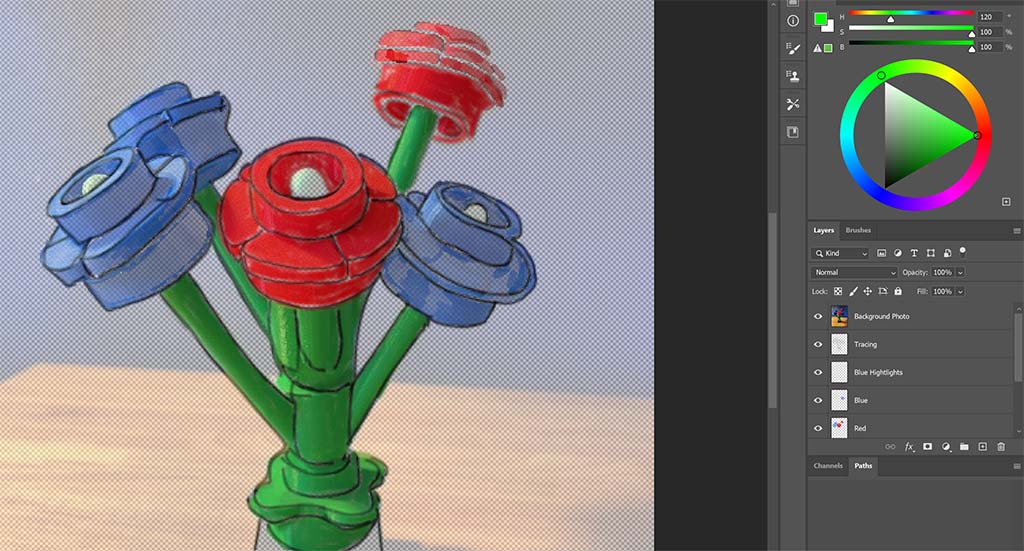
At this point, demonstrate the next steps for refining shadows and highlights. Show students how to use layers in Photoshop to separate shadows and highlights from the base painting. This gives them more flexibility to make adjustments and experiment with blending modes, helping them achieve more realistic lighting effects.

Allow students to continue refining their work, and as they do, circulate through the classroom to provide feedback and guidance. Encourage them to frequently reference their photos, ensuring the shadows and highlights they’ve added enhance the overall depth and form of their compositions.
Wrap up the lesson with a class discussion. Ask students to share the challenges they encountered while adding shadows and highlights and discuss how they overcame these obstacles. This reflection will help solidify their understanding and provide opportunities for peer learning.
As an extension, you can assign a more complex project, such as painting a portrait or still life, where lighting plays a critical role. For students who want to dive deeper, suggest additional tutorials that explore more advanced shadow and highlight techniques in digital painting software.
By the end of this lesson, students will have gained the skills and knowledge needed to use shadows and highlights to create more lifelike, three-dimensional digital paintings. This experience will help them understand the power of lighting in transforming their work from flat to dynamic.
Get access to the complete lesson plan, with materials — and more
If you’re interested in accessing detailed lesson plans and teaching resources, for this lesson series and more, we invite you to join our new Wacom Creative Educators Facebook group. Exclusive access to resources and other exciting opportunities awaits within our community of creative educators.


