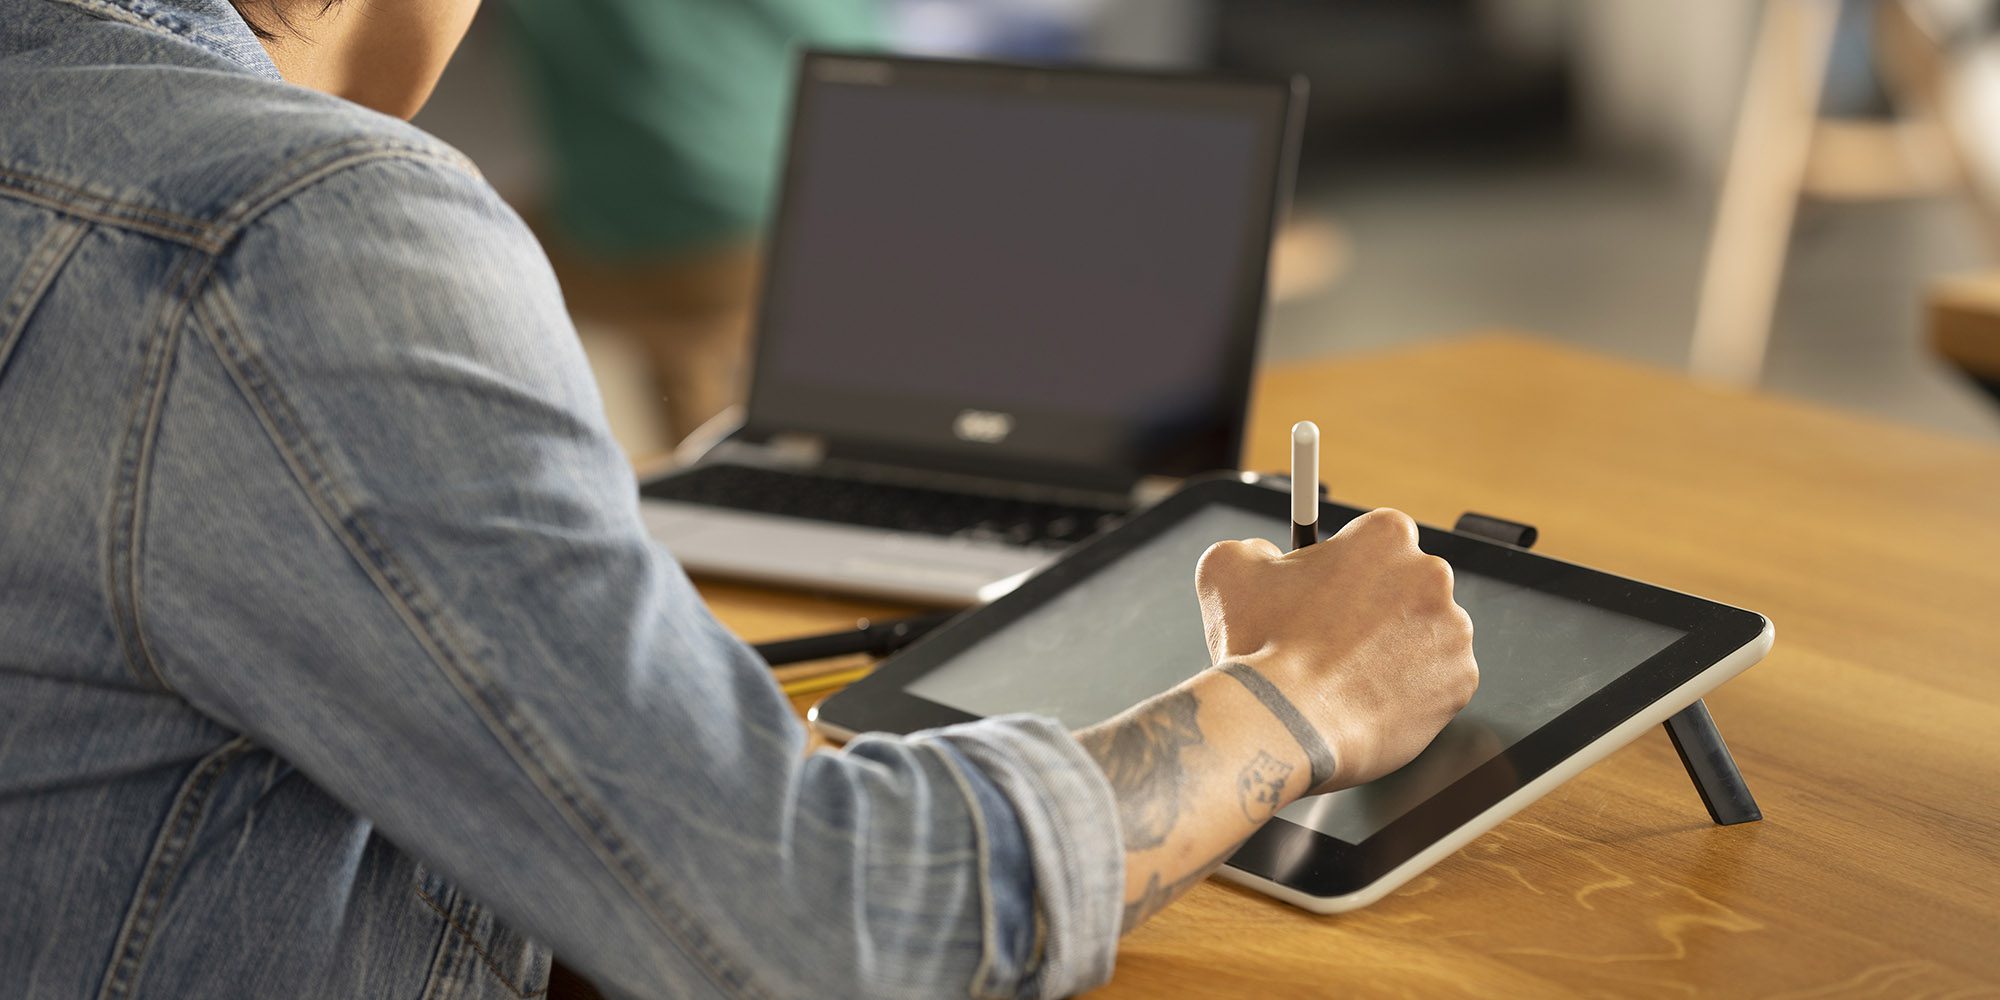
As leaders in intuitive, easy-to-use digital pen technology, Wacom is committed to helping schools and universities keep up with the pace of change. Our products boost collaboration and interaction and create opportunities for dynamic digital creativity, whether within a physical classroom, via distance learning, or in a hybrid scenario. Designed to work seamlessly with your IT infrastructure, Wacom pen tablets and displays are proven performers in any learning scenario.
But if you’re new to using creative pen tablets or displays, you need to get set up and learn how everything works. We’ve got you covered! Whether you’ve just received your class set of tablets, have made an order but want to get prepped and ready before they arrive, or if you’re just thinking about how you might pitch an investment in classroom technology to administration, we’ve got a bunch of video resources below so you can get all the information you need.
If you didn’t see it already, make sure to check out our previous post for more video tutorials on the basics of getting your tablet set up, installing drivers, and the basics of using a pen. If you’ve already gone through those tutorials, read on for building your capacity via more advanced settings, customization, and advanced pen skills.

What you’ll need:
- Your Wacom pen tablet
- Your computer
- Access to a drawing application. See our recommendation below.
Which drawing application should you use?
For these exercises, we recommend Magma. Magma is a free browser-based drawing platform that you don’t have to download and you can access from any computer, be it a Mac, PC, or Chromebook!
In the video below, we show you how to access Magma without creating an account. If you’d like to save your work so you can leave and come back later, create an account using your email, Google, or social logins.
Customizing your Wacom Tablet
Wacom Pen
In this video, you will learn about how to customize your pen settings that will work best for your use case. Not only will you see how to change your pen settings, but you will also see examples of how to use the pen with a variety of settings.
Understanding Mapping
The biggest difference when you are using a pen instead of a mouse is the idea of mapping. If you are working with multiple displays, this is an essential video for working efficiently with your pen tablet.
Two key terms introduced:
- Mouse Mode (Relative Mode): In relative mode, the cursor’s location is based on the last location of the cursor, not the current location of the mouse. For example, if you lift up a mouse, move it 6 inches to the left, and then put it back down, the cursor will not have moved.
- Pen Mode (Absolute Mode): In absolute mode, the cursor’s location is based on the current location of the pen tip on the tablet. For example, if you lift your pen and place it in the top left corner of the tablet’s active surface area, the cursor will appear in the top left corner of the screen.
Building Skills for Using your Pen
This video will show five exercises to familiarize yourself with using your pen. These exercises are good for both teachers and students.
Customization
If you have been following along with this series of tutorials, you have already seen the ways in which you can customize your pen buttons. In this video, we will explore how to customize the other features of your Intuos tablet. This is a longer video that would be best viewed while you are able to follow along with your computer and Wacom tablet.
Care and Cleaning
Now that you are ready to actively use your Wacom tablet, let’s see how you can maintain your new device!
Get creative!
Now that you’ve got the basics down, give it a try! Check out the Wacom for Education site to learn more, sign up for the Wacom for Education eNewsletter, or check out some of the great lesson plans and ideas on this blog for more: maybe The benefits of creativity in the classroom, Student jobs for the 21st century classroom, or How to multiply yourself in the classroom?


